A co-worker asked if I could customize a chalkboard for a friend of her's who happened to be married to one of the players from the Chicago Bears... specifically customized for their kids.
Looking for inspiration I took to the stores, Hobby Lobby of course. Strolling down the frame aisle, I fell head-over-heels in love with a barnyard wood picture frame.
DESIGN:
My husband and I toyed with some ideas and then came up with several sketches.
This is what I had envisioned in my mind...but the results were far greater than I could have imagined.
CONSTRUCTION OF FRAME:
My husband then began building the frame. Using Aspen and Pine wood, he nailed 1x6's, 1x4's and 1x3's together and this would serve as the base for the project.
Don't worry about the pieces that might be sticking out a bit. The beauty of this piece are in its imperfection.
PAINTING FRAME:
My first coat was a Dark Walnut Wood stain which I covered the whole frame with.
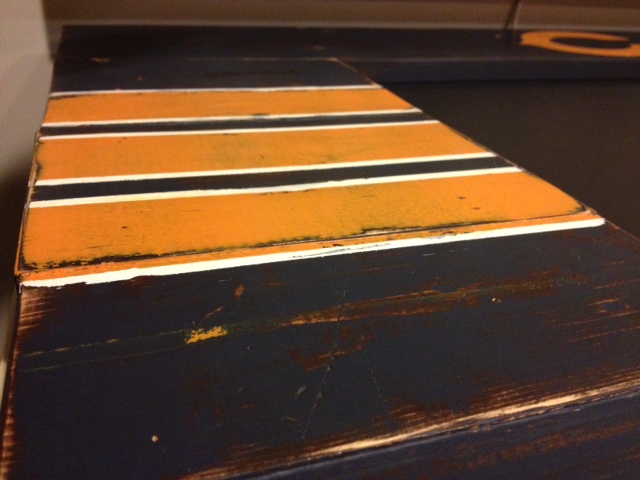
I then highlighted some areas that I wanted to distress by rubbing candle wax on them. Specifically, the corners and the edges of the chalkboard.
Once the walnut stain dried I applied a coat of dark blue Bears-inspired paint from Lowe's.
Here's a tip for you: Lowe's and Home Depot sell trial size paints. You can choose any color as long as you bring your color sample to the counter. They will match the color and it will only run you about $3 and some cents. Lord knows I love a bargain.
(Please make sure when using spraypaint that you are in a ventilated area)
I wiped down the chalkboard to make sure to clear away any excess dust from the sanding.
Stenciling the Bears logo
I then measured the lines, used tape to create them and painted them orange; white paint was used to highlight the lines.
I wiped down the board once more to make sure all of the dust was cleared from the frame.
Again here it is in all of it's glory. It has a very rustic and chic, yet has a "man-cave" masculine finish.
Don't you think?
See link for instructions on how to season your chalkboard.
Also for sale at: Aniah's Window


Yay! A job well done indeed! I like the sample paint tip - that's just plain ol' smart!
ReplyDeleteThanks Ada :)
ReplyDelete